
In this article, we will learn how to build a multi-language blog using Remix JS. I will be guiding you throughout the entire process step by step. Let's get started with Remix.
Prerequisites
The requirements are pretty simple:
Installation
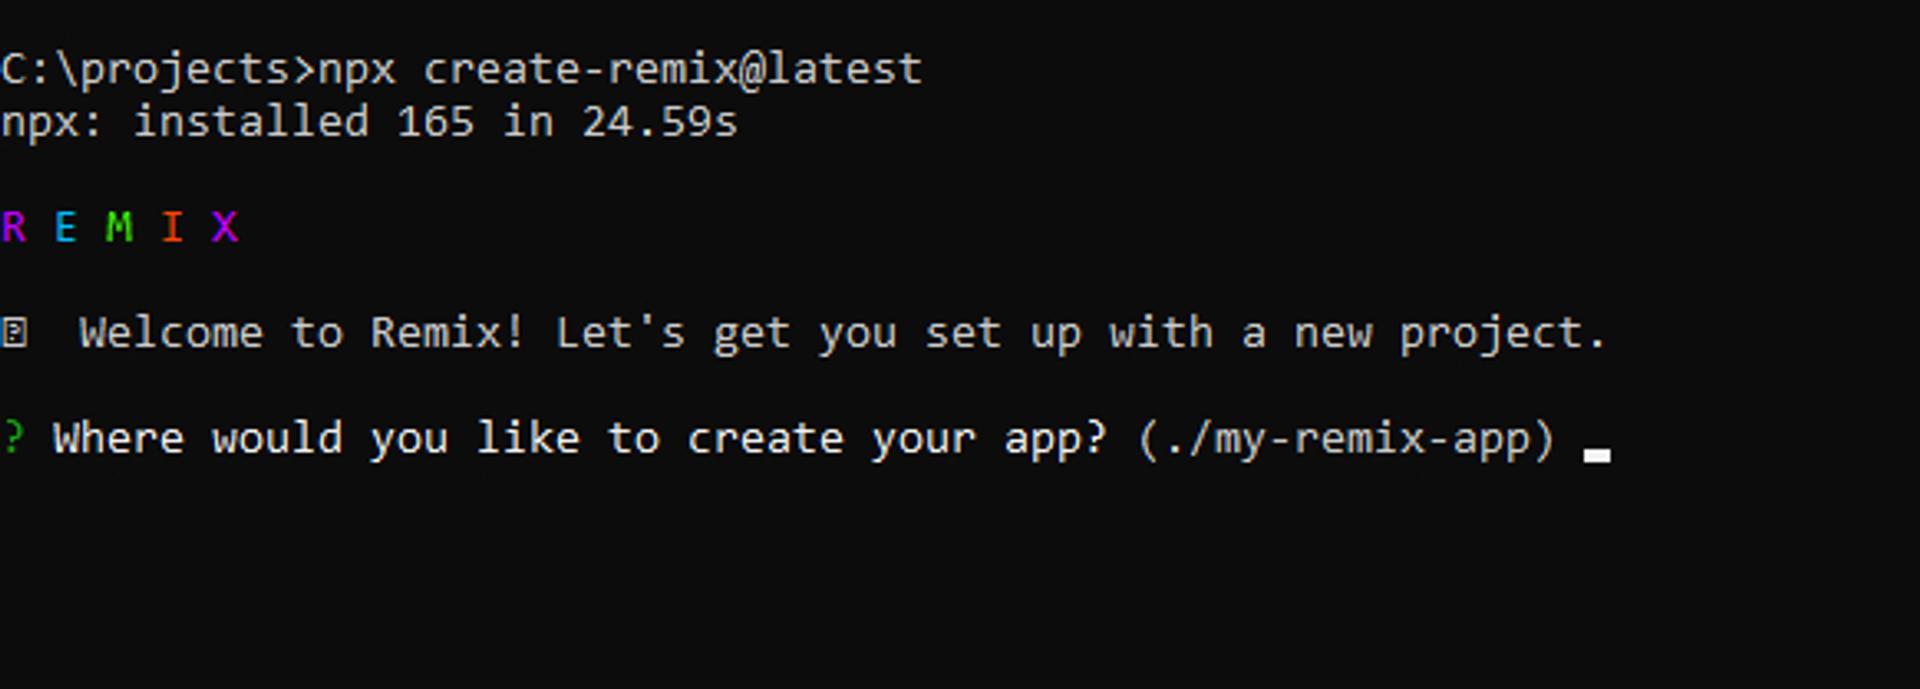
npx create-remix@latest
Choose the folder name you want to install:
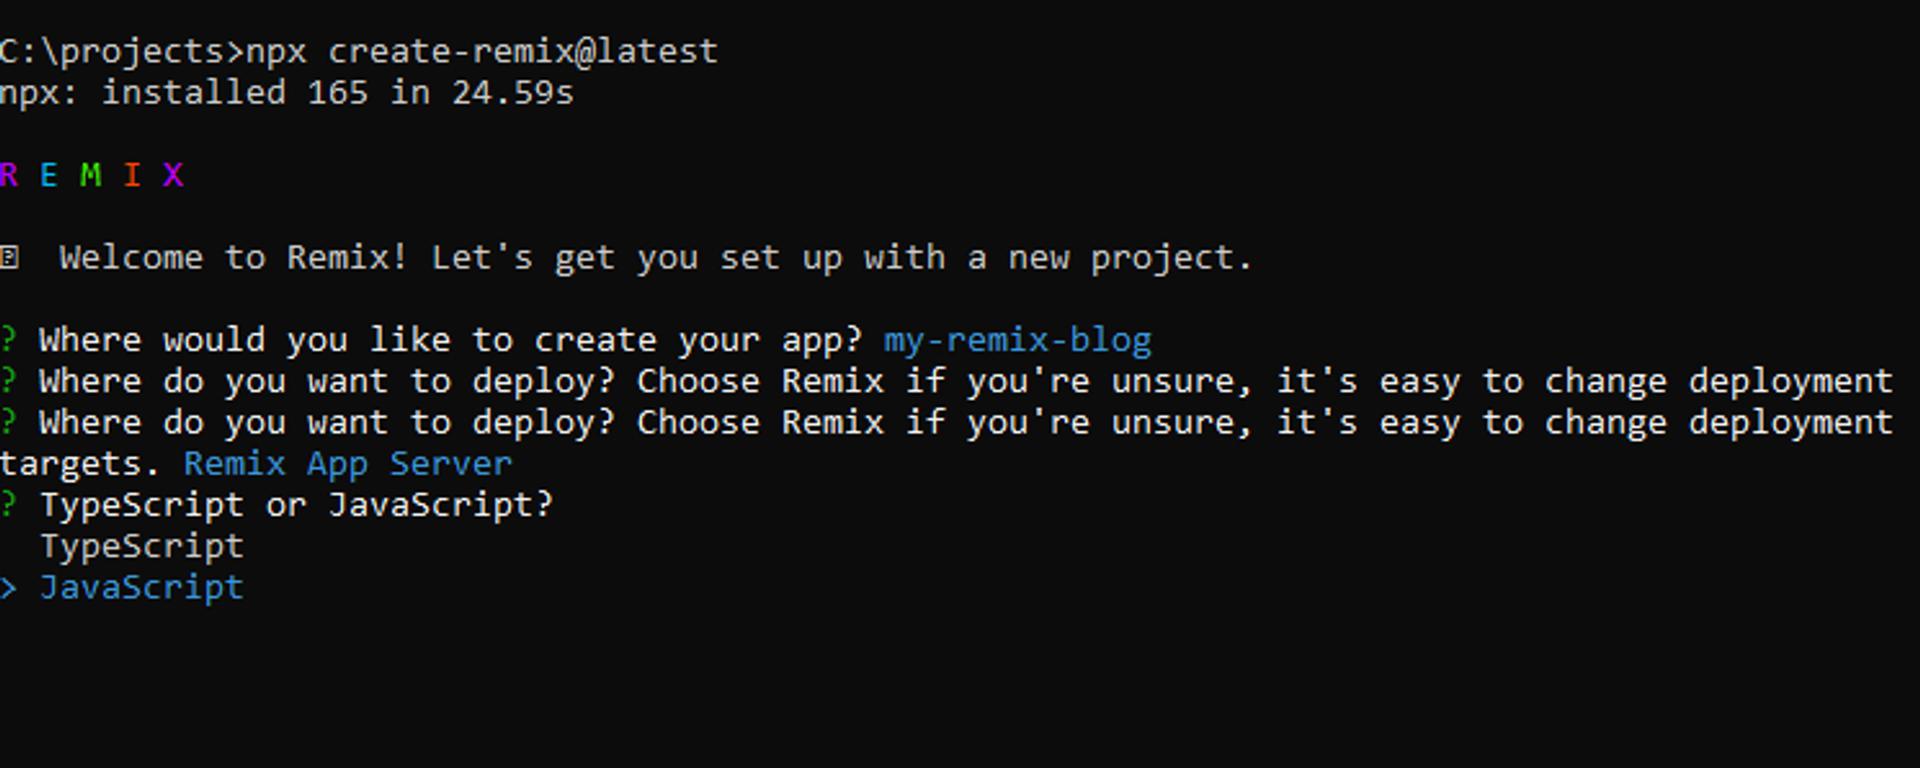
 Pick the Remix App Server option, which is the built-in server (you can change that later):
 Pick Javascript to simply copy-paste the code from this tutorial.
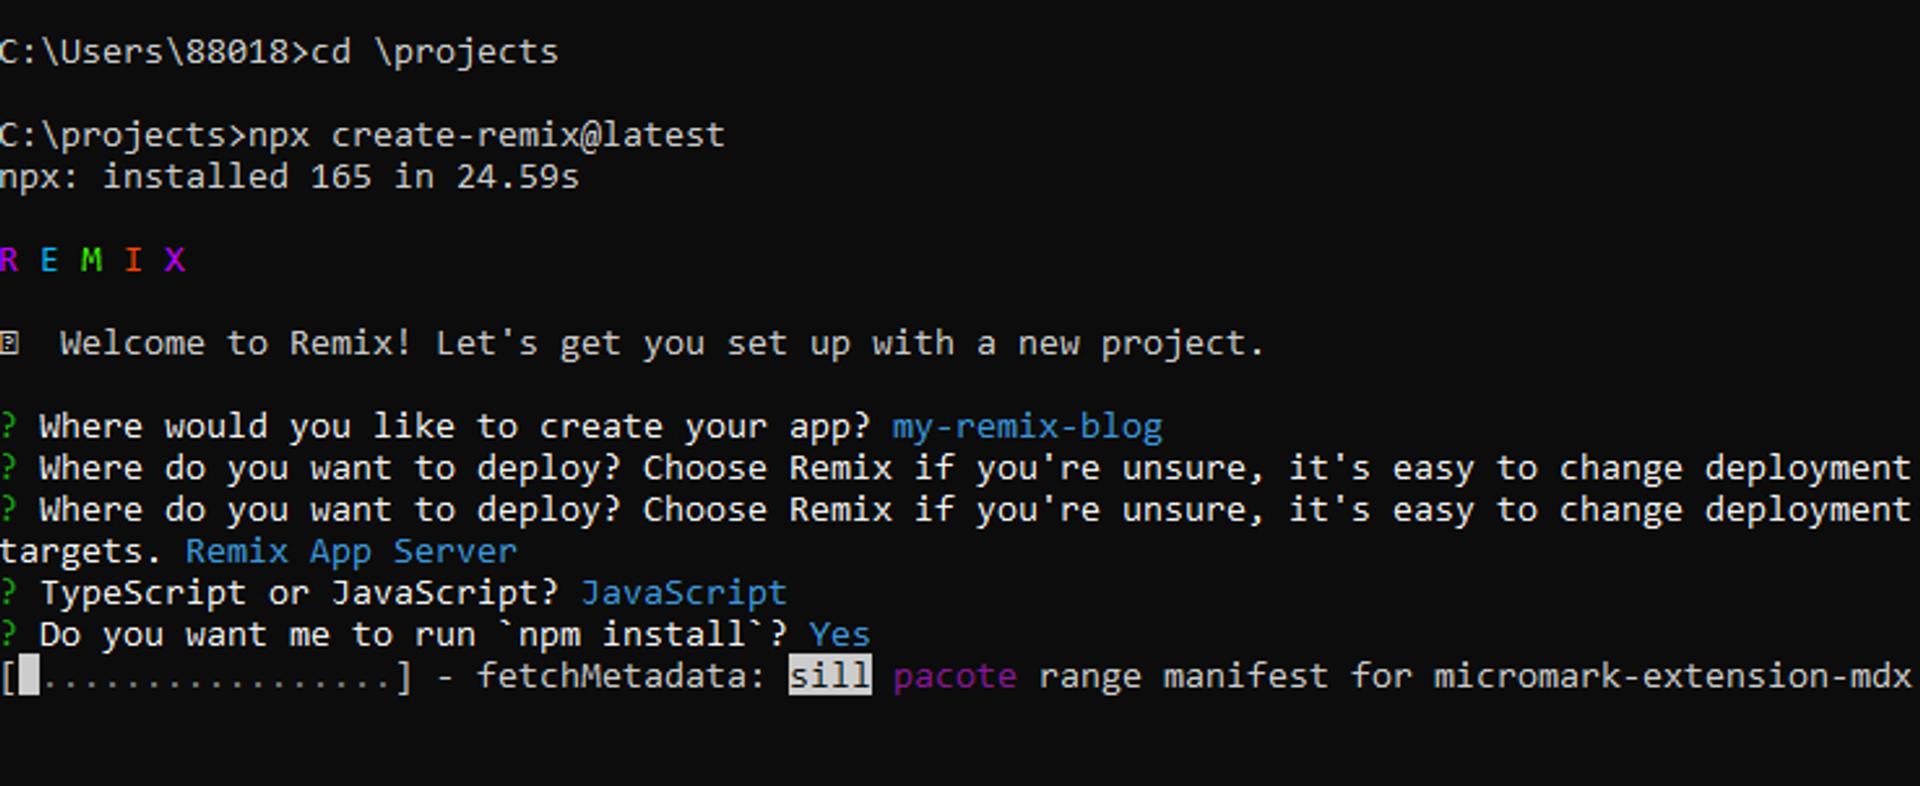
 Make sure you tell the installer to run
npm install
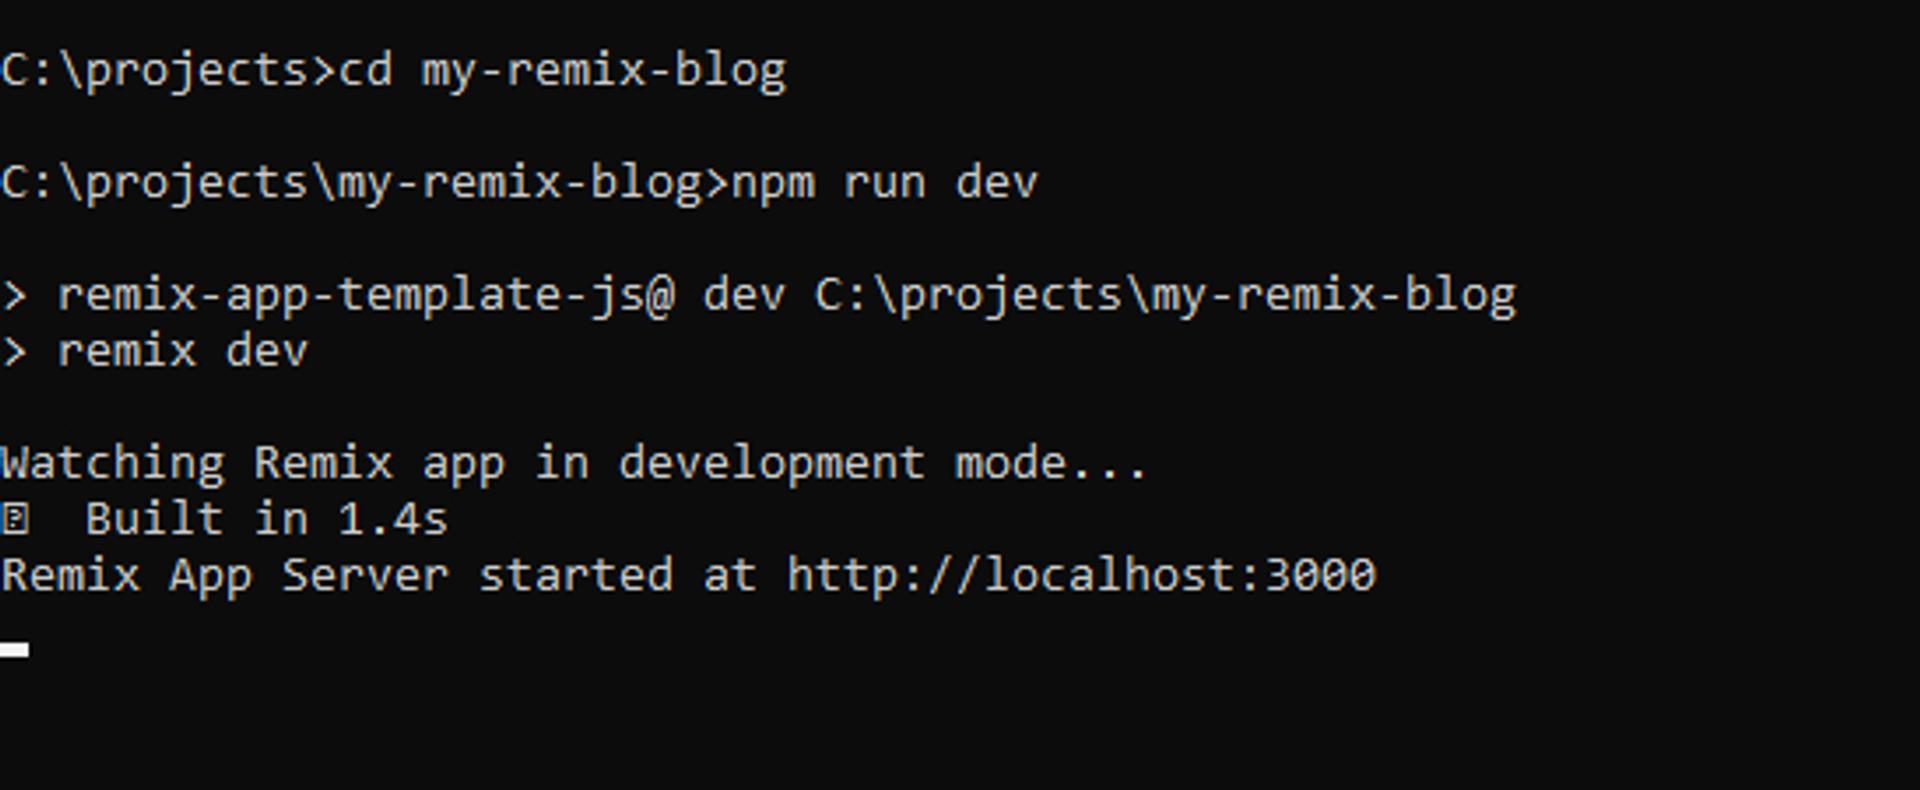
 Then cd foldername
Run remix npm run dev
Then cd foldername
Run remix npm run dev
 For more information about Remix, visit remix.run!
Create A Blog Page:
The app folder contains our main app logic. All the folders and files under the routes folder are exposed to the public and can be accessed with a URL. root.jsx — It’s the main component of our app. It contains our general page layout and Bootstrap CDN.
import { Outlet, LiveReload, Link, Links, Meta } from '@remix-run/react';

export const links = () => [
  // Bootstrap CSS CDN
  {
    rel: 'stylesheet',
    href: 'https://cdn.jsdelivr.net/npm/bootstrap@5.0.2/dist/css/bootstrap.min.css',
  },
];

export const meta = () => {
  return {
    description: 'A multi-language blog built with Remix',
  };
};

export default function App() {
  return (
    <Document>
      <Layout>
        <Outlet />
      </Layout>
    </Document>
  );
}

function Document({ children, title }) {
  return (
    <html>
      <head>
        <Meta />
        <Links />
        <title>Blog</title>
      </head>
      <body>
        {children}
        {process.env.NODE_ENV === 'development' ? <LiveReload /> : null}

        {/* Bootstrap JS CDN */}
        <script
          src="https://cdn.jsdelivr.net/npm/bootstrap@5.0.2/dist/js/bootstrap.bundle.min.js"
          integrity="sha384-MrcW6ZMFYlzcLA8Nl+NtUVF0sA7MsXsP1UyJoMp4YLEuNSfAP+JcXn/tWtIaxVXM"
          crossOrigin="anonymous"
        ></script>
      </body>
    </html>
  );
}

function Layout({ children }) {
  return (
    <p>
      {/* Navbar */}
      <nav className="navbar navbar-expand-lg navbar-light bg-info">
        <div className="container">
          <Link
            className="navbar-brand text-color fw-bold"
            to="/"
            style={{ color: 'RGBA(0,0,0,.55)' }}
          >
            Blog
          </Link>
          <button
            className="navbar-toggler"
            type="button"
            data-bs-toggle="collapse"
            data-bs-target="#navbarTogglerDemo02"
            aria-controls="navbarTogglerDemo02"
            aria-expanded="false"
            aria-label="Toggle navigation"
          >
            <span className="navbar-toggler-icon"></span>
          </button>
          <div className="collapse navbar-collapse" id="navbarTogglerDemo02">
            <ul className="navbar-nav ms-auto mb-2 mb-lg-0 fw-bold">
              <li class="nav-item">
                <Link to="/en" class="nav-link">
                  English
                </Link>
              </li>
              <li class="nav-item">
                <Link to="/es" class="nav-link">
                  Español
                </Link>
              </li>
            </ul>
          </div>
        </div>
      </nav>

      <div className="container p-4">{children}</div>
    </p>
  );
}

export function ErrorBoundary({ error }) {
  console.log(error);
  return (
    <Document>
      <Layout>
        <h1 className="text-center">Error
        <p className="text-center">{error.message}
      </Layout>
    </Document>
  );
}
Home Page : Create a new file here, app/routes/index.jsx. It is the homepage of our blog website.
import { redirect } from '@remix-run/server-runtime';

export function loader({ request }) {
  let languageHeader = request.headers.get('accept-language');
  let locale = languageHeader?.split(',')[0] || 'en';
  let language = locale.split('-')[0];

  if (!['en', 'es'].includes(language)) {
    language = 'en';
  }

  return redirect(`/${language}`);
}
Articles Component — Install Polyblog API:
npm install @polyblog/polyblog-js-client
We will write our code to display all the blogs we fetched from Polyblog API and display it. To find the articles go to localhost:3000/en find english articles, go to localhost:3000/es find spanish articles.
Create a folder app/routes/$locale
Create a file app/routes/$locale/index.jsx
import { getArticles } from '@polyblog/polyblog-js-client';
import { useLoaderData, Link } from '@remix-run/react';

export const loader = async ({ params }) => {
  const locale = params.locale;
  let articles = await getArticles({
    // signup at https://www.polyblog.io/signup to get your blogId
    blogId: '4217f90b8eaa86551e7f7d55',
    published: true,
    locale,
  });

  return articles;
};

export default function BlogPage() {
  const article = useLoaderData();
  return (
    <p>
      <div className="row row-cols-1 row-cols-md-2 g-4">
        {article.map(
          ({
            _id,
            locale,
            slug,
            coverUrl,
            title,
            author,
            creationTime,
            description,
          }) => (
            <div key={_id} className="col-md-6 col-lg-4 col-12">
              <Link
                key={_id}
                to={`/${locale}/${slug}`}
                className="text-decoration-none"
              >
                <div className="card h-100 shadow">
                  <img src={coverUrl} className="card-img-top" alt={title} />
                  <div className="card-body">
                    <h3 className="card-title my-3 text-dark">{title}
                    <h5 className="my-3 text-dark">{description}</h5>
                    <p className="text-dark">
                      Posted by {author} on{' '}
                      {new Date(creationTime).toLocaleString(locale, {
                        dateStyle: 'long',
                      })}
                    </p>
                  </div>
                </div>
              </Link>
            </div>
          ),
        )}
      </div>
    </p>
  );
}
Displaying a detailed article: Create a file app/routes/$locale/$slug.jsx It is the component that fetches a single article and displays it on a separate page. Go to localhost:3000/en/:slug to find a detailed blog.
import { getArticles } from '@polyblog/polyblog-js-client';
import { useLoaderData } from '@remix-run/react';

export const loader = async ({ params }) => {
  const { locale, slug } = params;

  const articles = await getArticles({
    // signup at https://www.polyblog.io/signup to get your blogId
    blogId: '4217f90b8eaa86551e7f7d55',
    locale,
    slug,
  });

  const article = articles?.[0];
  return article;
};

export default function ArticlePage() {
  const article = useLoaderData();
  return (
    <div>
      {article && (
        <p>
          <div
            style={{
              width: '100%',
              height: '400px',
              backgroundImage: `url(${article?.coverUrl})`,
              backgroundSize: 'cover',
            }}
            className="mb-5"
          >
            <h2 className="text-center pt-5">{article?.title}
            <h4 className="text-center pt-3">{article?.description}</h4>
            <p className="text-center">
              <i>
                Posted by <span>{article?.author}</span> on{' '}
                <span>
                  {new Date(article?.creationTime).toLocaleDateString()}
                </span>
              </i>

          </div>

          <style>
            {`article img {
                max-width: 512px;
                display: block;
                margin-left: auto;
                margin-right: auto;
              }`}
          </style>

          <article dangerouslySetInnerHTML={{ __html: article?.content }} />
        </p>
      )}
    </div>
  );
}
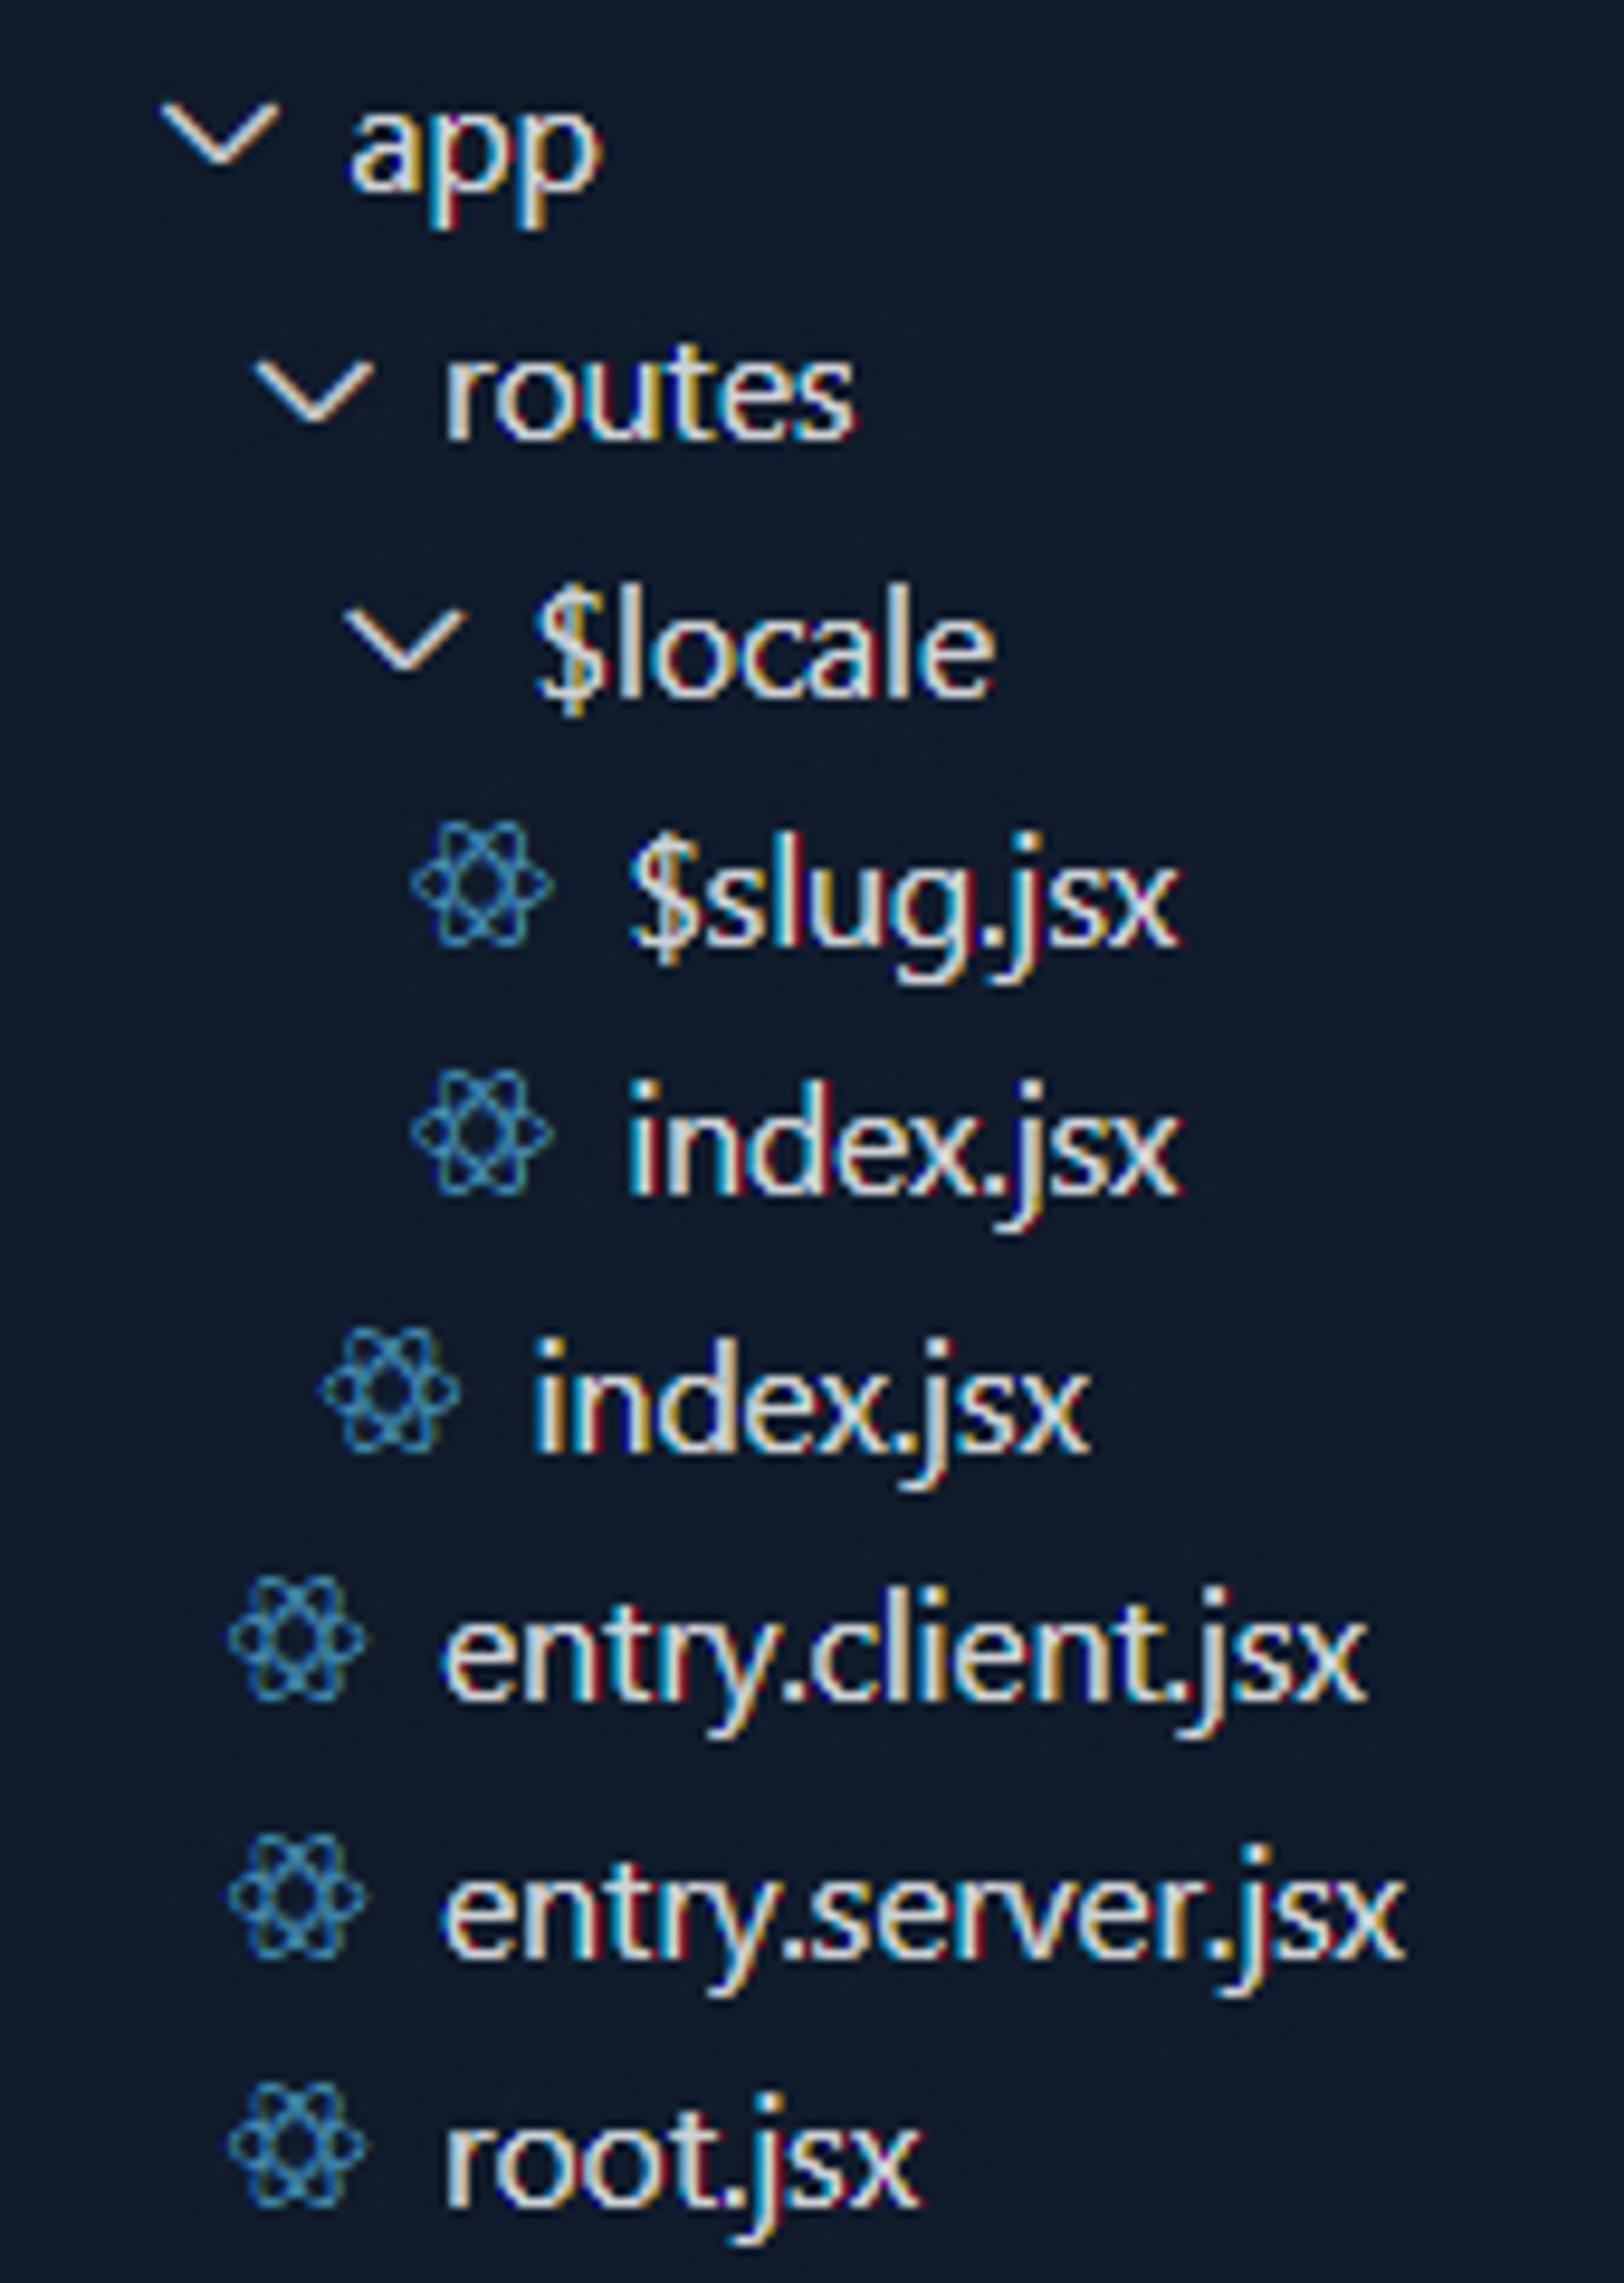
Signup at https://app.polyblog.io/signup to get your blogId to enter in the code above. After signing up visit the page Settings to find the id of your blog (ex. 1234567890abcdef12345678) Our folder structure looks like this
app
 routes
  $locale
   $slug.jsx
   index.jsx
  index.jsx
 entry.client.jsx
 entry.server.jsx
 root.jsx
Conclusion
Here in this article, I have described how you can add articles to any Remix website using the API provided by Polyblog. We have successfully created our multilingual blog with Polyblog API and it made it easier for us. You can find more information on the API parameters supported in the Polyblog API Reference. Thank you for going through this tutorial! If you are stuck on any step, refer to this github repo and find your problem. Happy Coding!!!
